Generating Notice Documents in Scribe Cemetery
Scribe Cemetery provides notice documents that can be produced through burial records. These notices play a crucial role in various cemetery-related activities, including Memorial Preparation, Grave Digging, Exclusive Right and Memorial Right. Additionally, users have the flexibility to add other notice documents as needed through the CRM > Templates menu. This guide will walk you through the process of generating notice documents and customising them to meet your requirements.
Producing a Notice Document via the Records Screen
To generate a notice document from the records screen, follow these steps:
1. Navigate to the Burial/Exclusive/Memorial records screen.
2. Click on the three dots at the end of the record required.
3. Choose "Generate Notice" from the dropdown menu.
In the Generate Notice window, you can choose the template type from the dropdown at the top of the screen and this will then amend the wording.
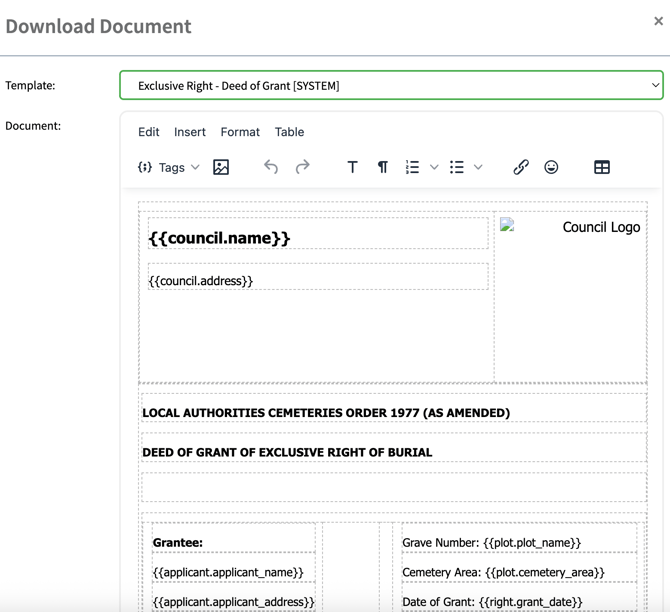
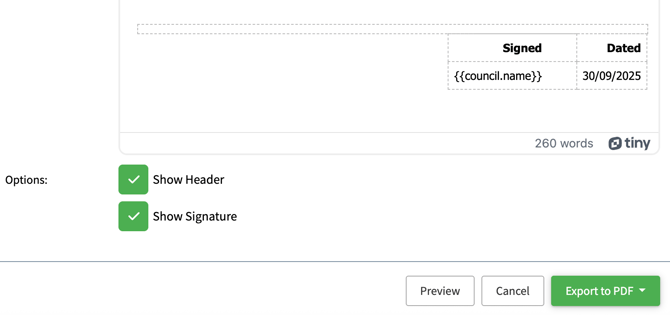
You can also choose to show the header or signature by ticking or unticking the relevant box.
The document can then be downloaded into a PDF
Adding Notice Documents
To add new notice documents, follow these steps:
Access the CRM menu and select Templates
Templates display the System templates, and you can edit them and change them to your needs.
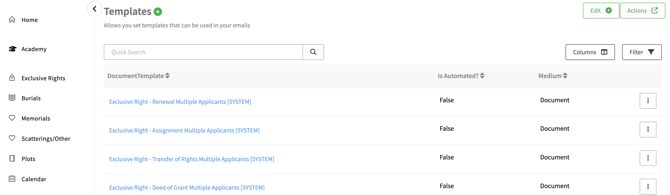
Click onto the three vertical dots next to the template you would like to edit and select Edit
(Note - System templates will need to be saved with a new name and can NOT be overwritten)
Ensure that you Enter a New Name for your template First
The template editor also has some additional features.
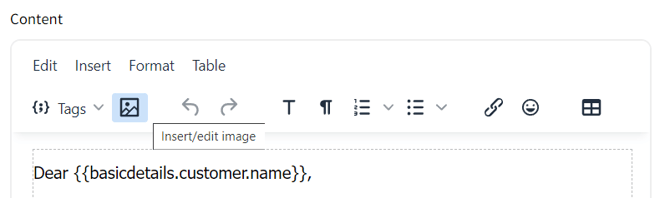
Rich-text editor
You will get access to a toolbar, which provides access to standard document editing tools, such as text formatting, inserting images, tables and more.
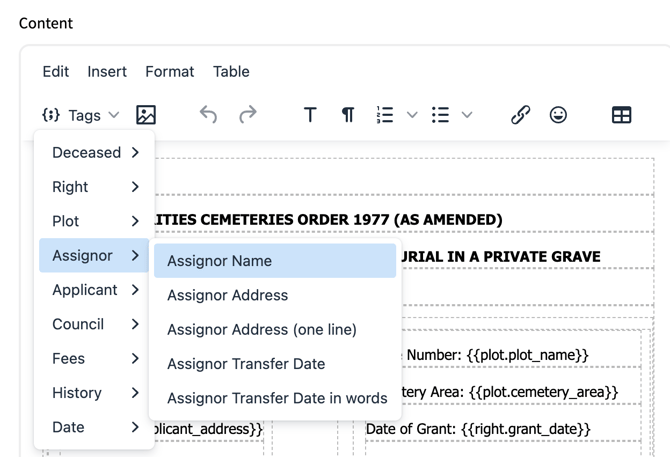
Merge tags
The templates support dynamic content, which is a bit like mail merge on Microsoft word. You have access to merge tags related to the record (like invoice data), and also general data, such as your council address (stored in your council profile).
Attached Files
You can upload any file that you may wish to have uploaded with the chosen template.
Preview email
When you are happy with the changes to your template, AND HAVE RENAMED THE TEMPLATE select save where you can then preview your results by selecting a record.
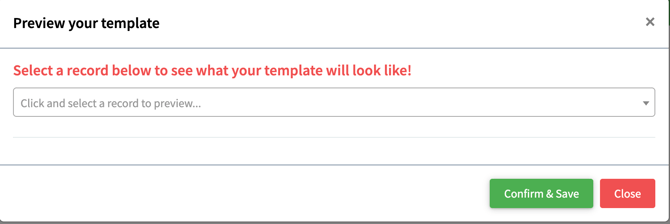
Select Confirm & Save or Close if you have further amendments to make.
Your template can then be selected from the drop-down menu when you produce a notice.
Adding a Logo to Notices
To include your council logo in the notices, navigate to Account/Council Settings and click on 'Add.' Here, you can upload your council's logo, and once saved, it will automatically appear on all generated notices. Having your council logo on notices adds a professional touch to the documents. Click here to find out more.
By effectively utilising the Notice menu in Scribe Cemetery, you can produce and manage various notice documents with ease, ensuring clear and professional communication throughout cemetery-related processes.